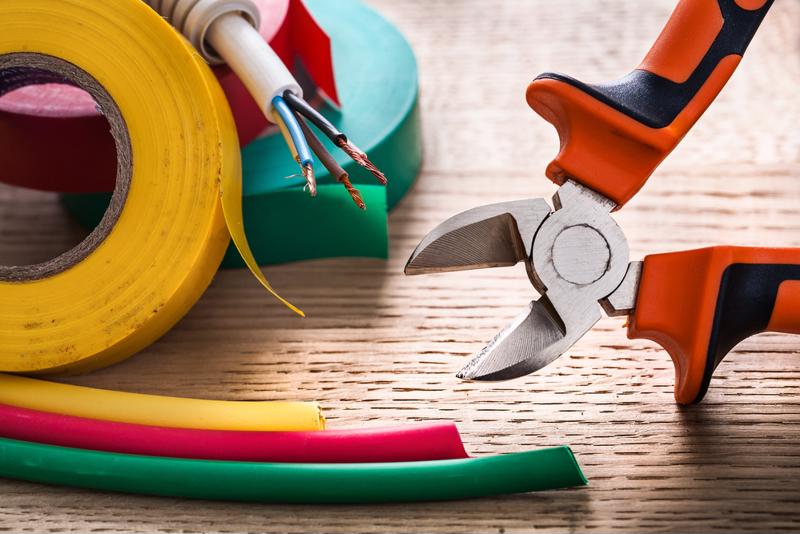
A steady, safe electrical current is necessary to power all electronic devices and equipment. However, the wiring harnesses needed for cars, airplanes, boats and other vehicles have different requirements than the wires and cables used in homes and other stationary electrical current flows.
Taking the right actions and using quality materials and equipment are the first steps toward creating or repairing a durable, long-lasting wiring harness. Here are a few things to keep in mind when working on one:
1. Use the right wires
Automotive repair shop technicians understand the importance of using automotive-grade wiring. This type of wire can handle vibrations and heat in ways solid wire, which is used in stationary environments, simply can't.

Using the right gauge is also important. Wires should be color-coded, and maintaining the same color coordination can make future repairs much easier.
When connecting wires to repair damage, soldering the wires together correctly can make a big difference. Use a soldering iron applied from underneath the wires, and ensure the metal is melted enough to secure the joint, Popular Mechanics emphasized. Master Appliance's Ultratorch soldering iron offers high thermal conductivity, making soldering jobs easier to accomplish.
2. Ensure connectors and backshells are in good condition
Damaged wires must be repaired, but so should connector heads and backshells or hoods. If these parts are corroded or have otherwise sustained damaged, they need to be replaced before installing the electrical wiring harness.
3. Break wires out of the harness carefully
If a wire that's already secured in a harness needs to be replaced or repaired, the removal must be done carefully so as to not damage adjacent wires or connectors. Bend the wires as little as possible, especially near the connector. Never overbend wires.
Secure wires with heat shrink tubing
Once wires are repaired as needed, they need to be wrapped in the right heat shrink tubing. Choose heat shrink tubing that's large enough to slip over the wire you need to wrap, but is able to shrink down enough to fit snugly on the bundle.
The right heat shrink tubing will protect your wires from moisture, dirt and other contaminants that can pose risks to the integrity of the electrical connection. One critical aspect of heat shrink tubing is its ability to retain a stable, strong hold. Tubing that is equipped with crimps are generally reliable.
Certain heat shrink tubing can also help with connectivity or with bundling multiple wires into one harness. These useful tubes come with premeasured solder added in. Tubing with an adhesive lining softens during the heating and molds to the shape of the bundle, providing superior support and insulation.
If you're repairing multiple wires, use the heat shrink tubing on the individual repairs, but follow up with a larger tube that bundles all the strands together. This will make for a cleaner result.
Master Appliance offers crimp, solder and heat-seal connector kits. Tubing is color-coded to keep track of which wires are used and where. Additionally, the tubing doesn't shrink in length – only in girth – to ensure that coverage is never compromised.

