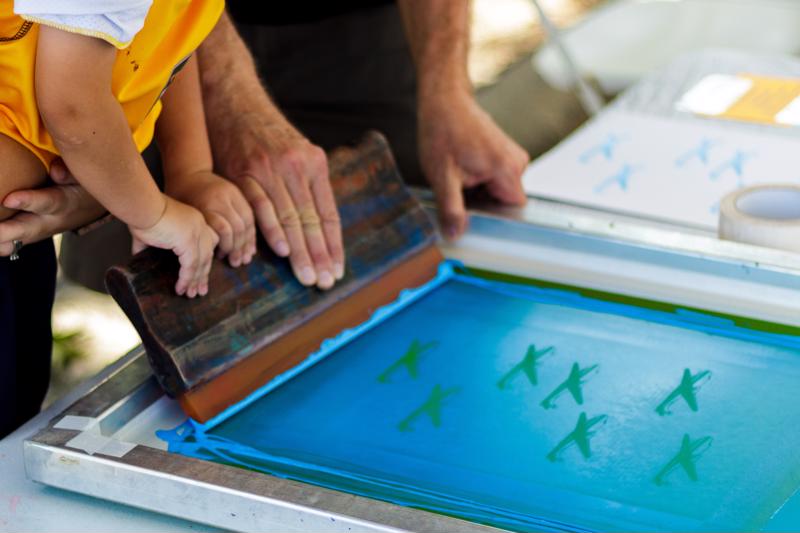
Silk screen printing can be a fun and relatively simple way to make your own artwork. Creating your own screen prints isn’t hard to do when you have the right equipment.
How to burn the screen for printing
Gather your supplies:
- Blank silkscreen pre-stretched 110 mesh frame.
- Transparency paper, and a way to print onto it (use your own printer or go to a copy shop).
- Photo emulsion and sensitizer.
- 150 or 250 watt light bulb.
- Squeegee.
- Black cloth.
To prepare the screen, mix the emulsion and sensitizer according to the instructions on the bottle. Next, coat the screen with the mixture, using your squeegee to spread it out evenly. Leave the screen in a pitch black room for about an hour.
Next, burn your chosen image into the screen. Select an image that’s simple and blocky – thin lines and intricate details are difficult to achieve at first. Print your design onto the transparency paper. Lay the screen on the black cloth, then place the transparency on the screen.
Position your light bulb about two feet above the screen and turn it on. This should be the only light in your dark room. Leave the light bulb on for about 10-45 minutes for the image to burn into the screen.
Carefully remove the transparency, then spray cold water over the screen. The emulsion should flake off where the transparency image was burned in so ink can pass through the screen.
 Screen printing is one way to create DIY artwork.
How to screen print a t-shirt or other fabric
Gather your supplies:
- Ink in all colors you want to include.
- Heat blower to dry ink between passes.
- The prepared screen and squeegee from step 1.
Choose the item onto which you want to print your design. This can be a t-shirt, tote bag, piece of canvas or another piece of material. Lay your material on a flat surface. If it has multiple layers that you don’t want the ink to bleed through to, such as a t-shirt or tote bag, put a piece of cardboard between the layers.
Place your screen over the top. Pour your ink across the top of the screen horizontally. Use your squeegee to push the ink through the screen by pressing down and moving in one swift motion. Repeat this motion in several directions.
Lift the screen, being careful not to smudge your print. Let the ink dry. To speed up this process, use a heat blower set a couple feet away from your print to direct warm air toward your image.
If you’re using multiple colors, wait until the ink is completely dry before you add each subsequent hue. A heat blower will make a multi-toned image much faster to complete. To find the right heat blower for your projects, check out the options available from Master Appliance.

