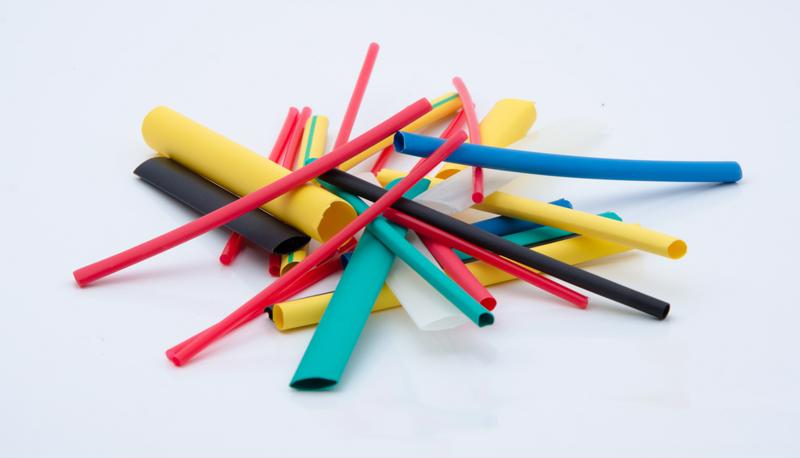
Making electrical wire connections is a basic skill that many people who work with cars, boats or machinery manufacturing must develop. It’s relatively simple to do, and the tools necessary are relatively affordable. Nonetheless, it’s important to understand the specific techniques in making wire connections, the rules regarding safety and organization and which tools are best for the job.
Choosing the right tools and materials
Before you begin connecting wires, review your materials to ensure you have everything you need to get the job done right.
1. Heat shrink connectors
Exposed wires always have some risk of corrosion or damage. Choose high-quality heat shrink connectors that thoroughly cover the wires, hold up over time and don’t allow the wires to slip out. Additionally, choosing a seal with clear tubing lets you view the quality of the wire connection, unlike opaque or semitransparent connectors that obscure the appearance of the wire. Crimp connectors hold strong and prevent corrosion.
 Choosing the right heat shrink connectors can affect the quality of your wire connection.
2. Heat gun or torch
As the name implies, heat shrink gets smaller when it’s warmed up. Your heat source makes a difference in the quality of the shrink. Too hot and your heat shrink will scald; too cool and the process won’t work properly. Using a tool that wasn’t designed for the job, like a lighter, could work in a pinch, but it may leave you with disappointing results. Products such as the Ultratorch can direct the heat precisely where you want it and provide better control over temperature.
3. Other tools
- Wire cutter.
- Needle-nose pliers.
- Strippers.
- Crimpers.
Understanding wiring regulations
The National Fire Protection Association has created guidelines for how to use wires, including how to choose the right type of wire for a project and how to safely connect them. Anyone working in an industrial facility where connecting or using wires is relatively common should have easy access to the NFPA 70: National Electrical Code requirements. Refer to this document whenever making decisions about types of wire or wiring technique options.
How to connect electrical wires
Once you have your tools, you’re ready to begin. Start by removing the insulation near the area of the wire you need to connect. Only remove just enough; it’s best to keep as much of the insulation intact as possible. That said, make sure you take off enough to be able to handle the wires.
Next, trim the wires. Cut them bluntly using your wire cutter, then twist them clockwise. Thread the wire into the connector until the insulation is flush with the metal crimp barrel. Use crimpers to squeeze the barrel and lock in the wires. Crimp both ends of the connector, but leave some distance. Once complete, give a gentle tug on the wire to make sure it doesn’t slip through.
Finally, use your heat source to shrink the connector. Master Appliance offers a heat shrink attachment for use with their Ultratorches as well as their renowned heat guns. Heat shrink attachments direct the heat flow into a circular direction around the connector, evening out the heating process. Consider using a heat shrink attachment to ensure your connector heats evenly around all sides.


